The Basic Steps:
(1) Fill a container large enough that the entire air plant can be submerged with room-temperature water.
(2) Remove airplants from there regular pot and place them in bath. Make sure the tips remain as submerged as possible.
(3) Leave in water for 20 minutes.
(4) Remove from bath and place somewhere to dry, making sure roots are sat upward so that they can absolutely dry out.
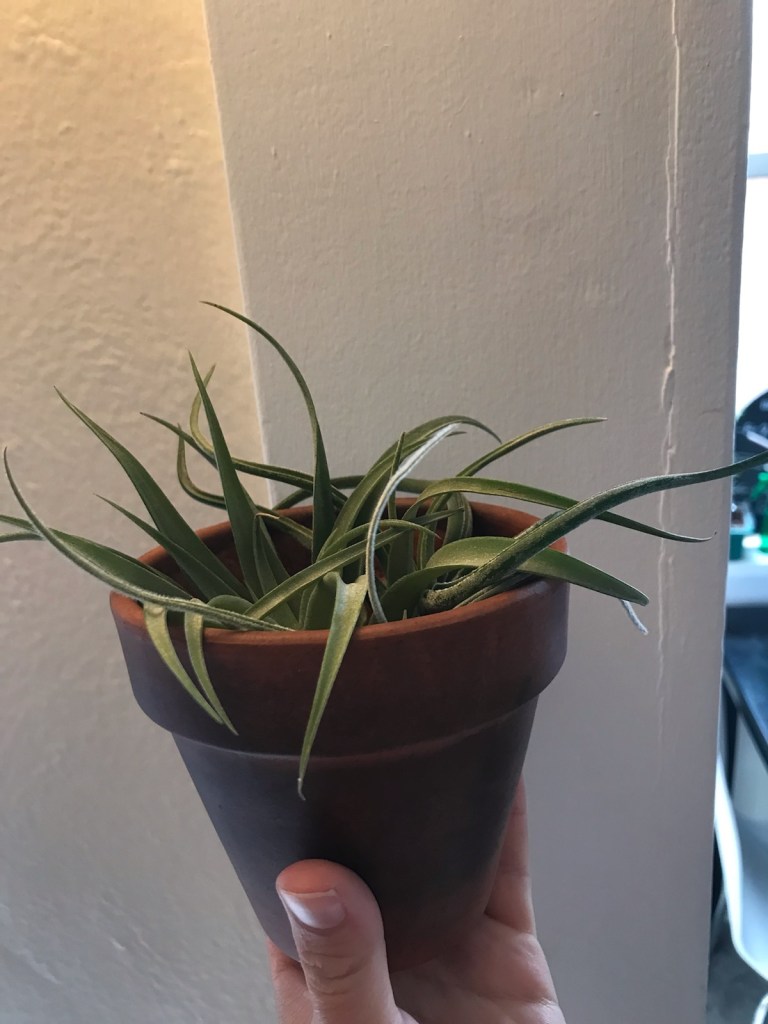
Watering air plants is pretty simple, albeit different from how you might water most plants. There are two important things to remember, so I’ve been told and experienced: The tips dry out the easiest, and the roots will rot if they remain wet.
When placing my airplants in their bath, I try and position them so that the tips are as completely submerged as possible. This can be hard with plants that have the tips oriented in myriad directions. Keep in mind that regularly misting your air plants can be a helpful way to keep the tips from drying out.

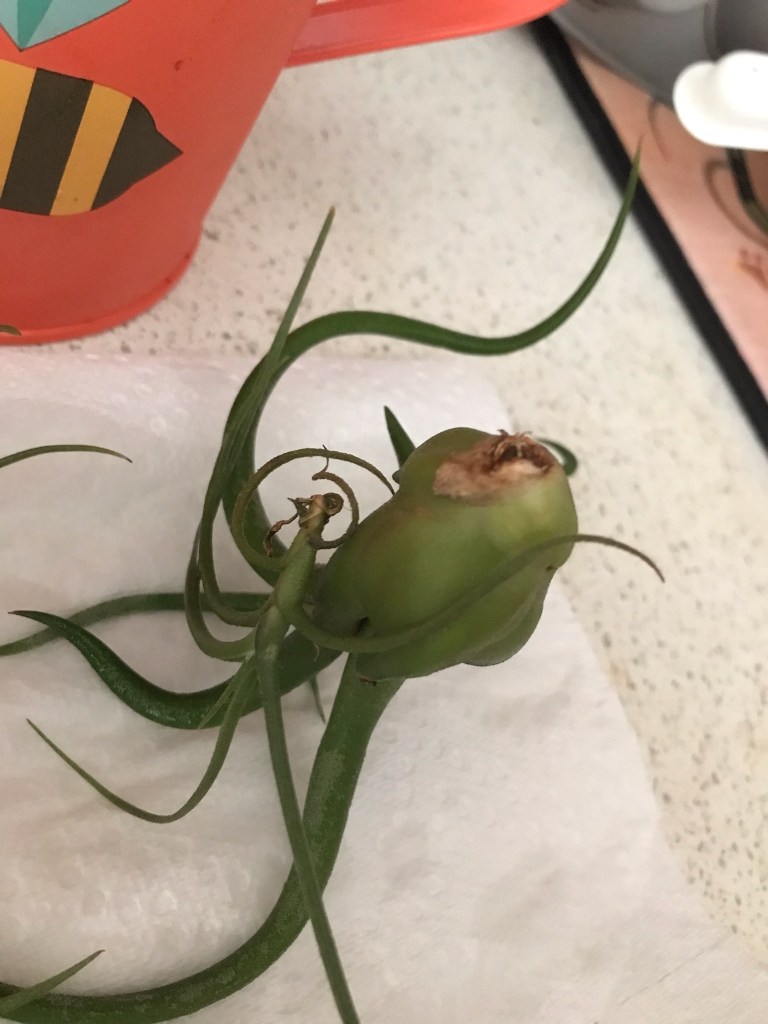
Once their bath is over, it’s time for the air plants to dry out. The air in my apartment tends to be pretty dry but I still make sure they stay out of their regular pot and upside-down for a few hours.
The point of their being upside-down is that the roots are open to the air and can dry out well. Remember – it’s not as big a deal if those tips stay wet, but we don’t want root rot!
And that’s really it! I mist maybe once a week between waterings, especially if the weather’s been especially dry.
A bonus tip for y’all darling readers who made it this far:
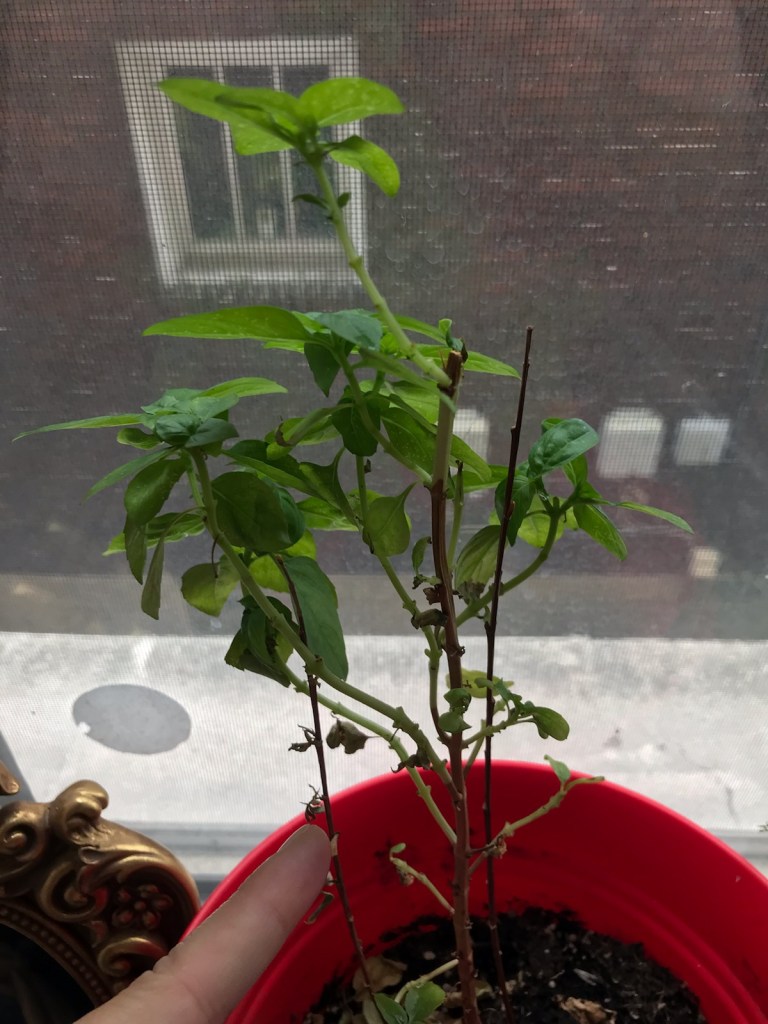
Have a plant that’s struggling? Maybe it’s surviving, but not thriving? Needs new growth? Try white willow!
White willow releases a growth hormone (and is easy to propagate in just water, which is how I got my sapling). So when my original basil plant was super anemic and only very slowly/barely growing new stems and leaves, I gently pruned off two twigs from my sapling and placed them in the soil of my basil plant. And it looks so much less anemic! The new growth is green and proud, especially so on the side where the twigs are inserted:
I hope these tips help you cultivate your gardens!
✿
