You’ll read here: 🌱 Gettin’ thrifty when you’re out of money and have plants that need planting/container planting on a space & money budget 🌱 Chamomile, tulsi, basil, sage 🌱 Slug buddies 🌱 Container planting tips from a friend
🌱
Container Planting on a Spacial & Monetary Budget
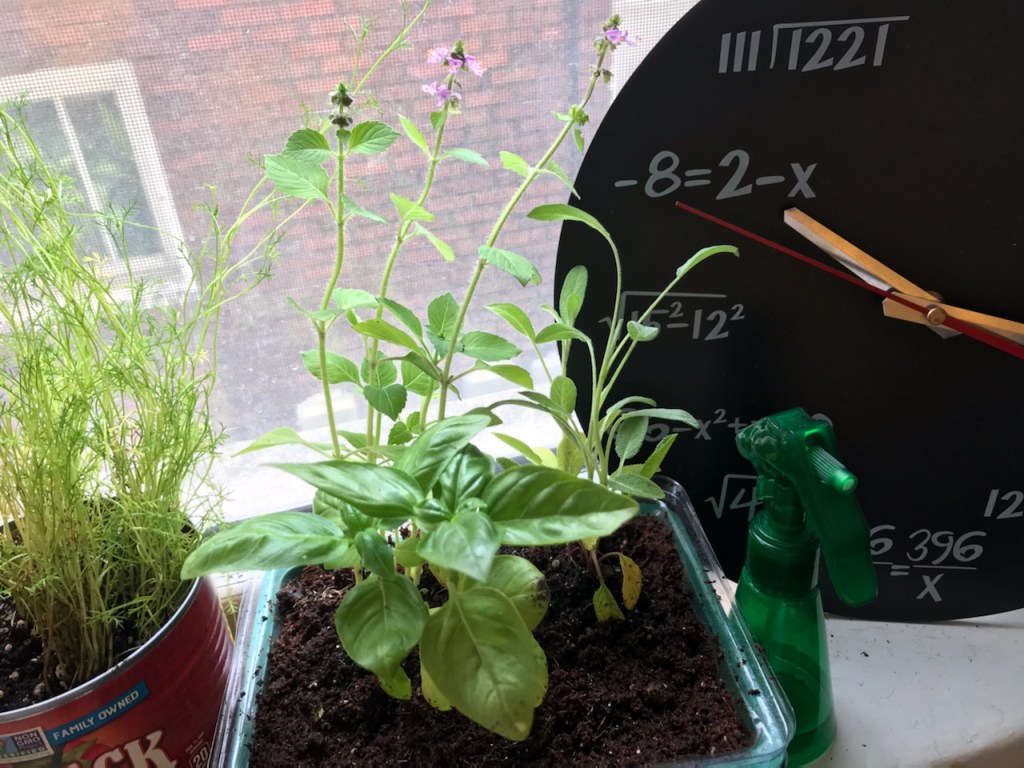
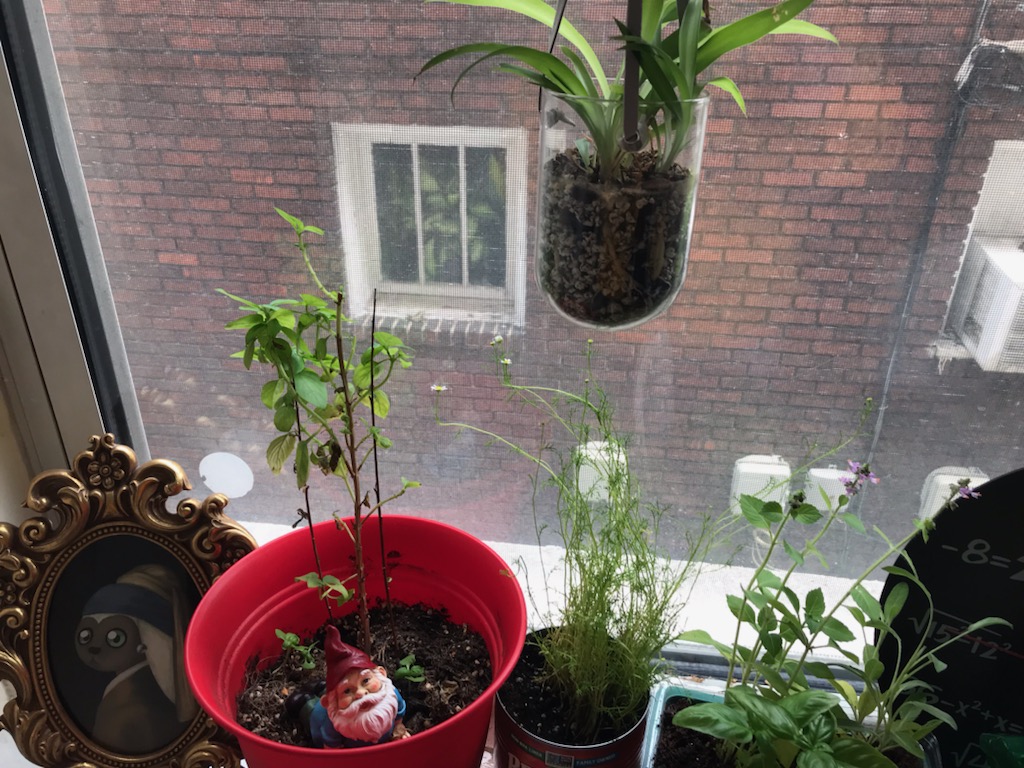
Well – I helped out with a super fun planting event earlier this week and got to take home a couple of the extra plants that there wasn’t enough space for! I feel very lucky – but I’m out of money, soil, and planters at my place. So I had to get thrifty with rehoming some chamomile, some sage, some holy basil, and some un-holy basil (ha ha).

My friend taught me a useful way of container planting:
- DRAINAGE. Make sure your container has drainage holes and space for the water to seep out.
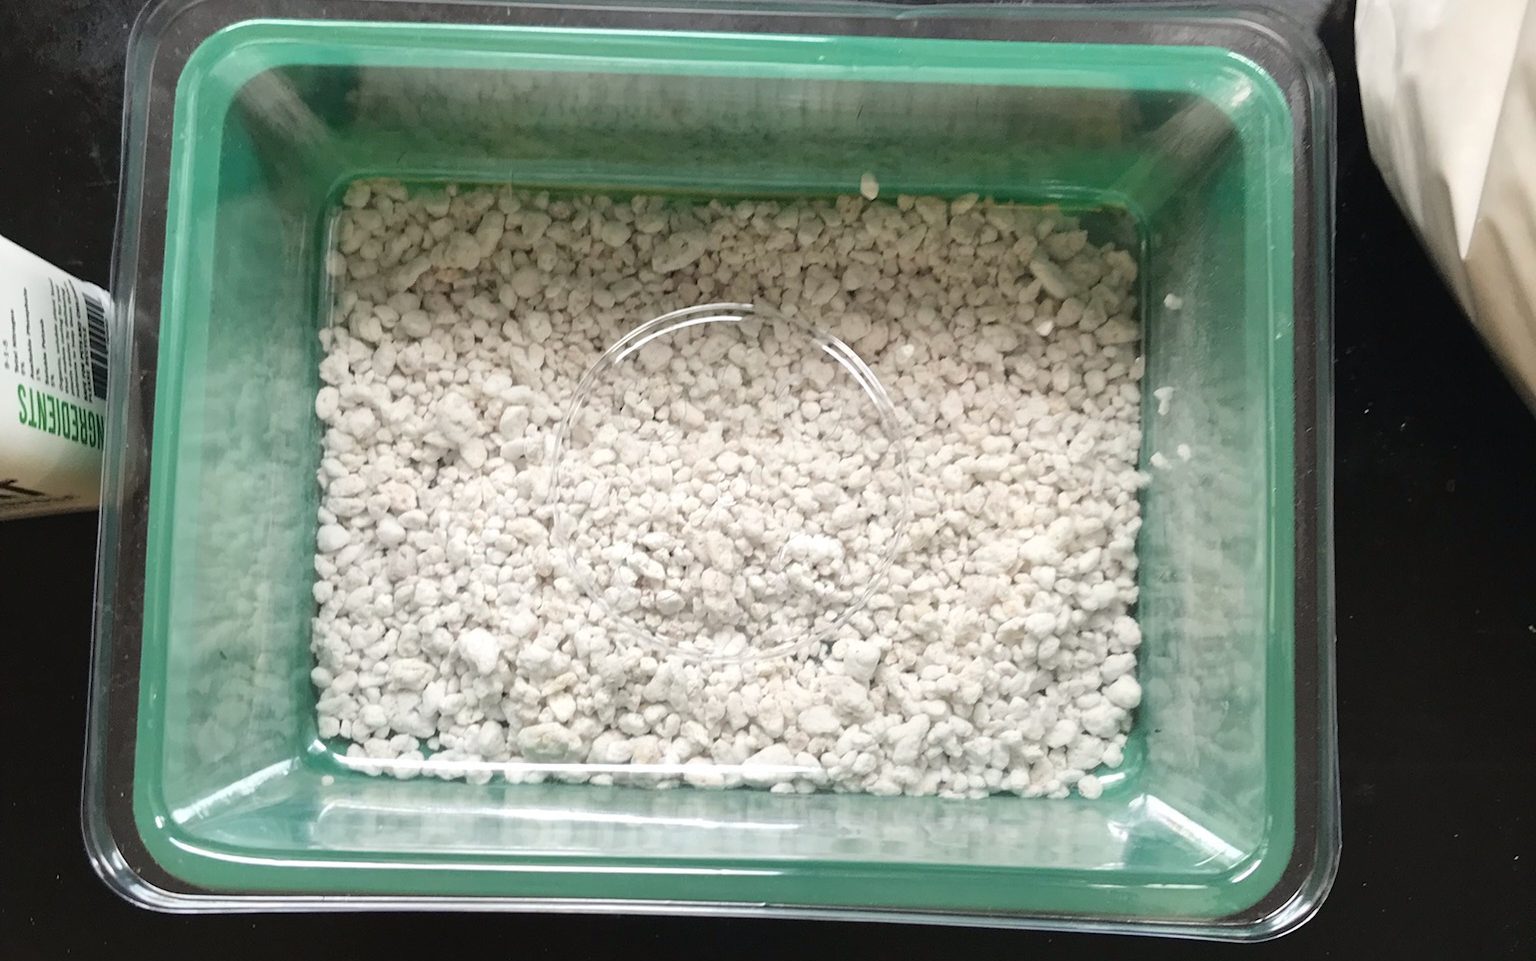
- BOTTOM LAYER. At the event we used peat as the bottom layer because it drains easily. At home, because I don’t have the space or money for a big bag of peat, I use rocks. When I’m out of rocks, I get thrifty with what I do have – more on that below.
- UPPER LAYER(S). Good quality organic soil. I use potting soil from my favorite local nursery and spice it up with some organic powdered fertilizer. I also have added some perlite to it.
Now, as mentioned, I was out of money, out of new soil, and out of planters with proper drainage. So I opened up my hall closet and took stock of what I had available: and I found a forgotton stack of mini seedling ‘greenhouses’ that I was able to repurpose into a mini window garden container with drainage!
First,
I took what would be the bottom of the seedling ‘greenhouse’ and filled it with perlite. This was to mimic where I would use rocks if I had any left or space between the bottom of a pot and the ground if outside, for drainage.
Second,
I inverted what would have been the top of the ‘greenhouse,’ the part that has holes for humidity control. This was to become the pot itself, where the soil and plants go.
Luckily the plants I have are pretty small, so I didn’t need a super deep container for them to live in.

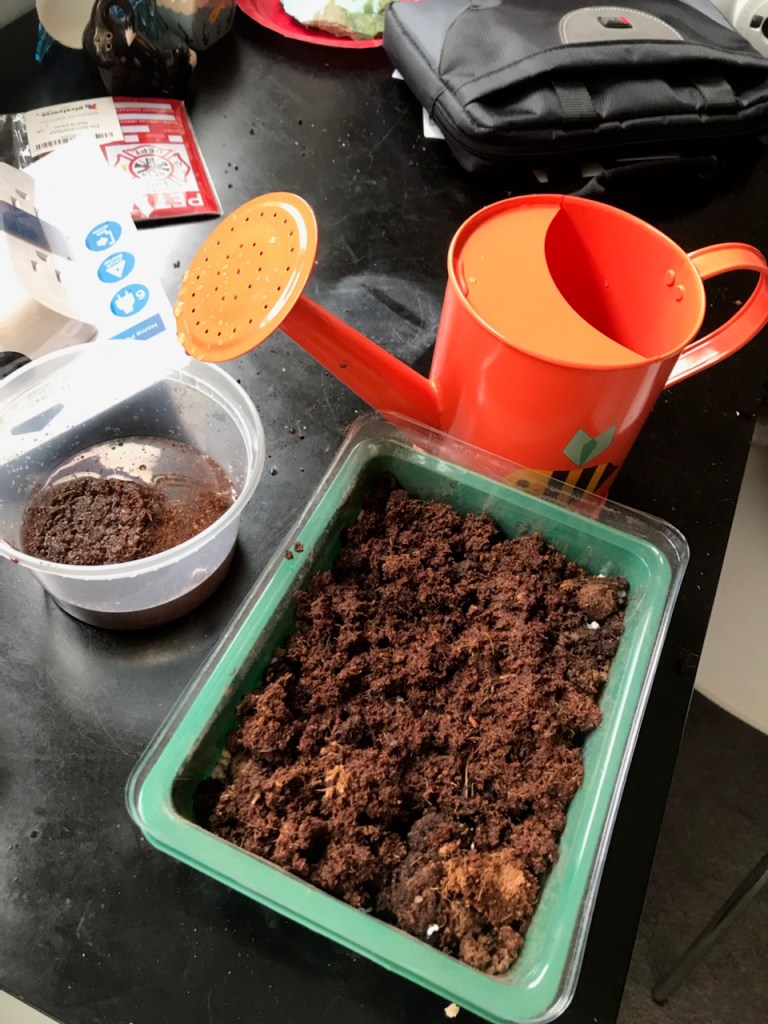
Third,
Soil time. I had some old soil stuck in a jar, which I fished out, loosened, and gave a little buck-up with my organic pet-safe fertilizer.
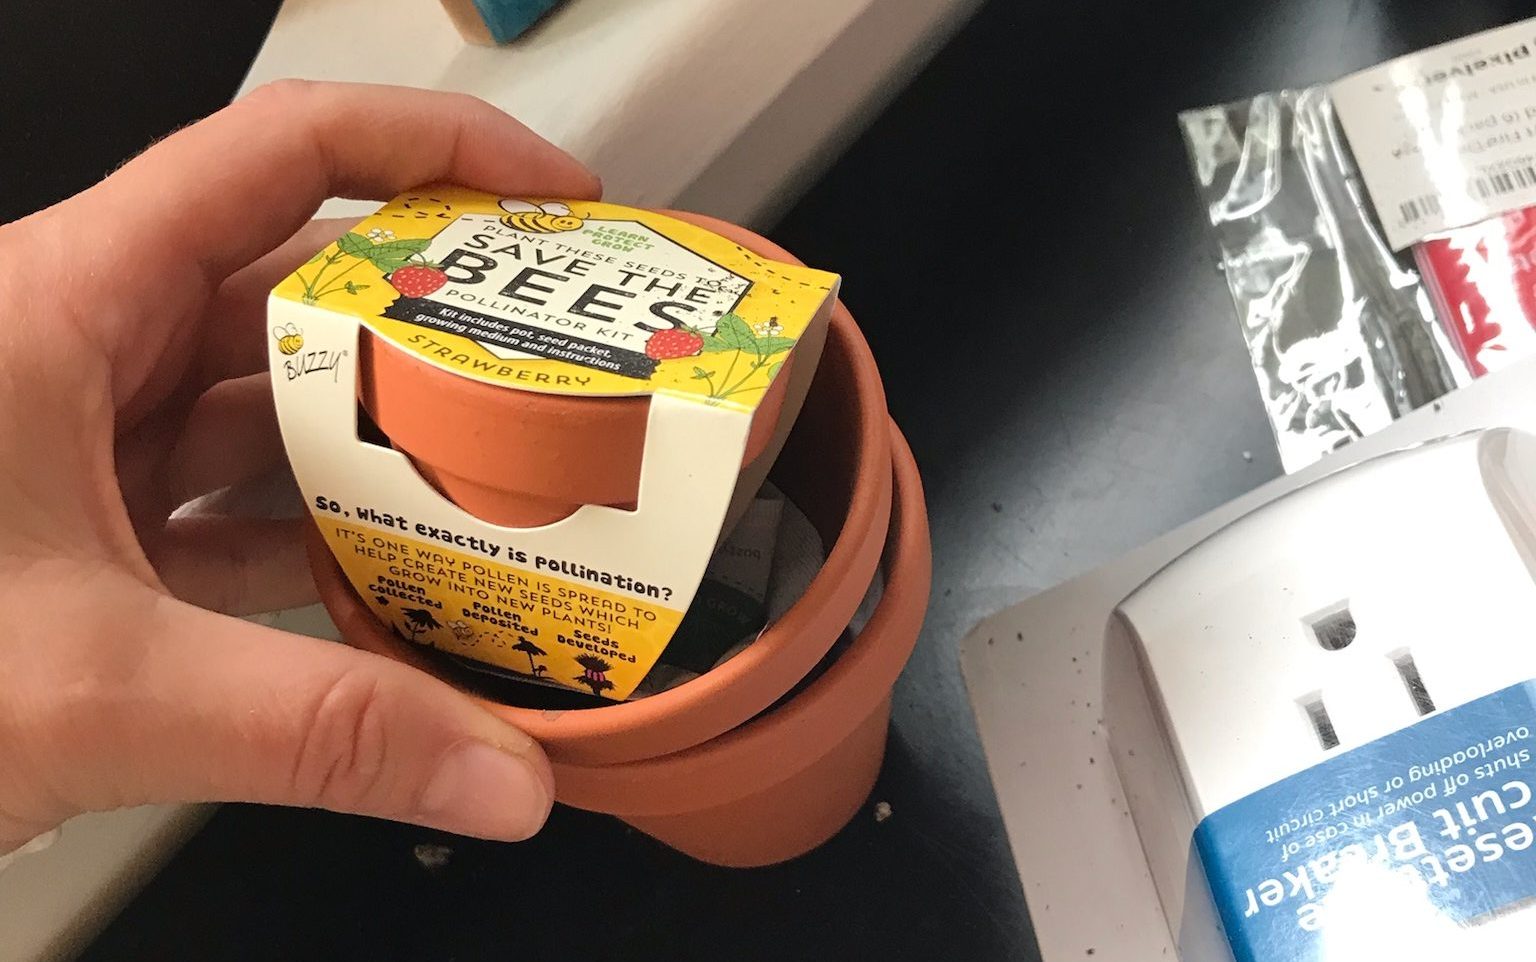
When that wasn’t enough soil, I went and used some of those packed-peat pellets you get with cute mini grow kits, like these Save the Bees kits I have yet to plant.
And finally,
Planting time! In this container went the sage and the two types of basil; the chamomile had already been planted separately.
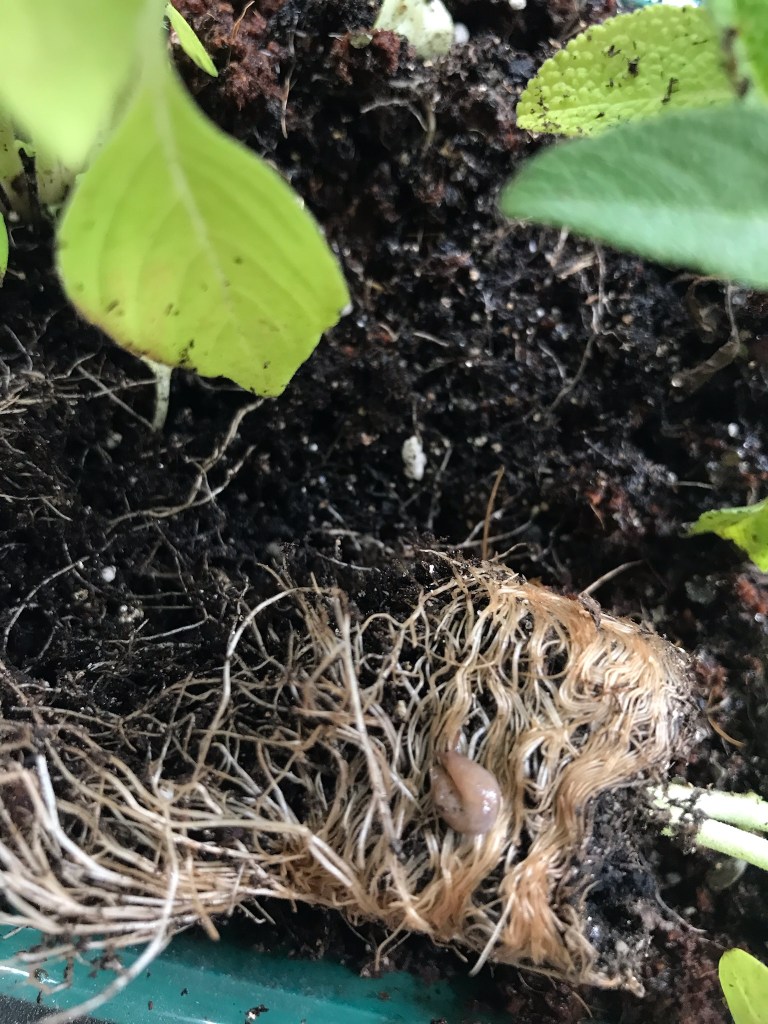
While planting the regular basil, I found a little friendly slug! Their little antennae just get me every time. It wasn’t easy to photograph, though, as it was on the move.
But you can just see it on the very-root-bound roots of the newly freed basil plant there.
Now – we shall see if this DIY planter situation works, if these plants need more light, different soil, or whatnot. I’m historically not great with herbs, but I’m excited to try this out. Especially with the loneliness I’m feeling in my life currently – friends who I love are moving, getting married, making changes, and I’m changing too – a new challenge is a blessing.
I hope any challenges in your lives, readers, are blessings to you.
✿
